I am abnormally excited to tell you all about the latest improvement we are making to the Point Breeze Cottage. Honestly, it's not really an improvement to the cottage itself, but more-so one to our yard.
The status on the cottage: Stuck in a holding pattern. We have discovered some septic issues and are trying to sort them out with the Health Department before we can move on with any additions or upgrades to the house. You'll read more about this dilemma later...So for now, we're focusing on our yard.
Anyway, on our property we have a large garage that allows us to store all kinds of junk, tools, projects, etc. A very useful structure indeed:
 |
| Sturdy, large, and not completely hideous. This is an old picture, we've since added a piece of lattice above the rose bush to the left to allow it to climb the wall and add some color. We've also relocated the large bushes (right) to the back yard. PS- check out the sweet deer sign my dad welded for us all on his own! |
So that's the garage. What you can't see in this picture? The eye-sore that had been the thorn in every neighbors side LONG before we purchased the house...what I like to call, the "Dead Shed".
 |
| This picture doesn't actually do justice to the hideousness that was the "Dead Shed". We took this picture after Hurricane Irene came through and knocked the tree over onto the shed. (You can learn more about our battle with Hurricane Irene by clicking HERE or HERE on my old blog) As you can see, this was all hidden behind our garage, shielding it front the front street, but leaving it exposed to all of those behind us. |
This mess had been this bad for years, so we took the storm as a sign/opportunity to relieve our neighbors of the ugliest spot on the block. Once we got rid of the old shed and remnants of the shed, we found a trove of junk. So much junk. Nails, screws, light switches, bottles, ice skates, cans, a toilet, random pieces of metal, fishing poles, and lots and lots of old plastic jugs. Being the daughter of a waterman, I know that most of the jugs were probably used years ago for marking pots in the water, but you'd think they'd have gotten thrown away. Nope everything was just left here; A catchall for things that were no longer wanted or used.
We removed as much as we could and did our best to rake up the dirt underneath. Bubba used the space to plant a small vegetable garden last year, with great results. This year he and his dad are planting a larger amount of fruits and vegetables on their family farm in Mechanicsville, so the space was free again. And looked rough...
 |
| No structure, no clean lines, just a mess...my OCD couldn't take it much longer... |
 |
| We tilled and raked, removed the pavers we'd placed in the center for the firepit, and gathered up all of the old bricks that were leftover from the fireplace we found in our bedroom wall. (Read more about that escapade HERE!) |
 |
| View from the backstreet/what our neighbors see when they look out their front door. (A wild puppy, a hardworking husband, a crazy lady with a camera, and the beautiful Potomac River) |
We cleared what we could, placed the bricks around the perimeter (after fighting with several NASTY spiders), threw down some Preen for good measure, gave it a good soaking, and then spread some wildflower seeds. We figure that once our septic issues are resolved, we're more than likely going to need a mound system. So why waste the time, effort and money of creating a garden oasis, when we'll probably have to remove it at some point? Not to mention, we aren't exactly diligent when it comes to pulling weeds...to me, this seemed like the best option, and certainly the prettiest one.
Here are a couple of shots once we finished. Now we water and wait for the flowers to grow!
 |
| We decided to add a nautical touch by using some old drift wood we've collected over the years from the beach around the perimeter of the garden. As you can see, there are still some weeds in the tilled up dirt, but that's the beauty of wildflowers, it doesn't matter! |
 |
| Certainly not perfect, but we're making progress! |
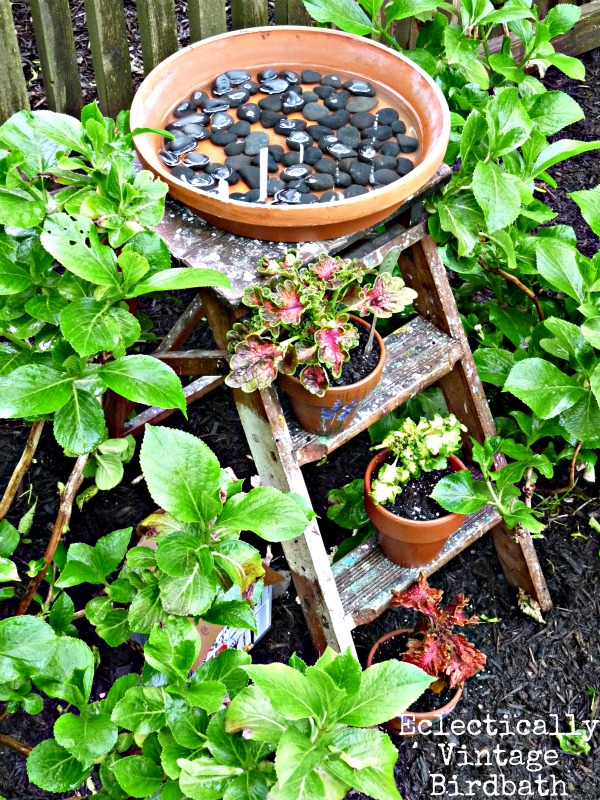
I can't wait for the flowers to start growing so they can add a pop of color to the backyard. In the mean time I'm working on a DIY birdbath project for the center of the flower garden, using all up-cycled materials from around the house...Look for a post on that project in the near future :)




 Posts
Posts

